This is the ReShade You Are Looking For
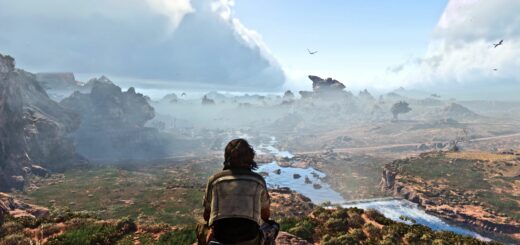
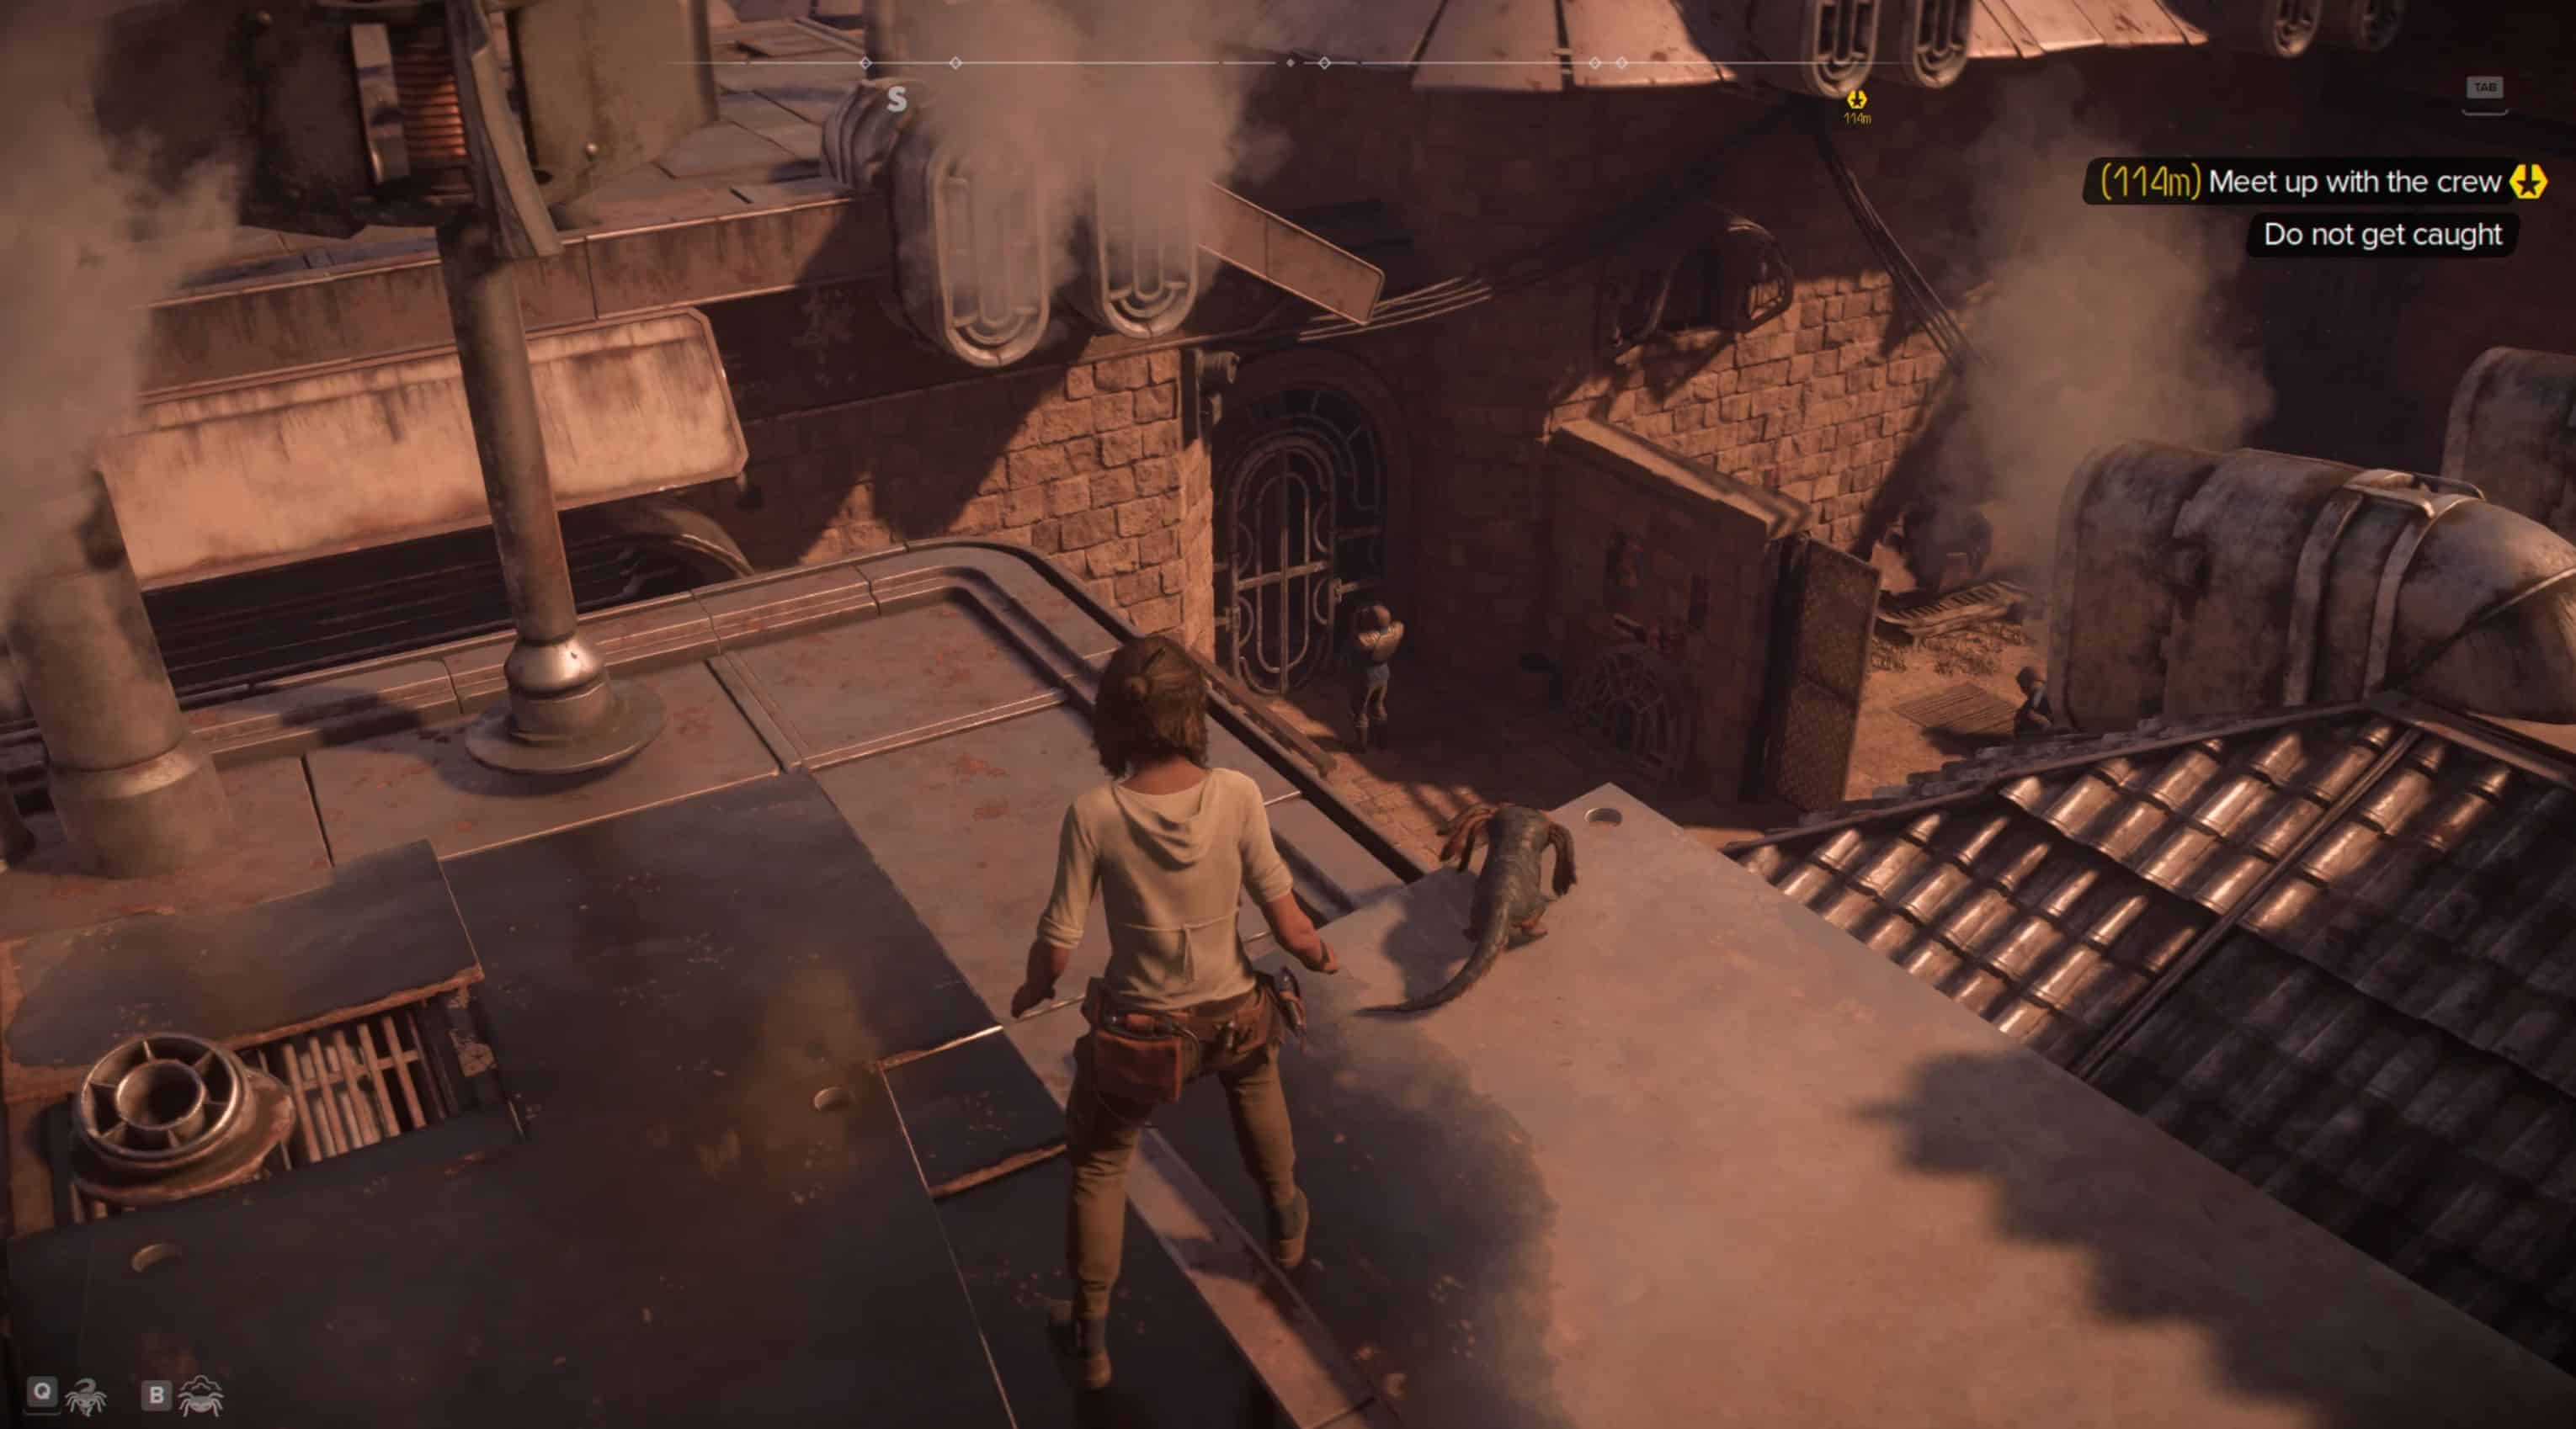
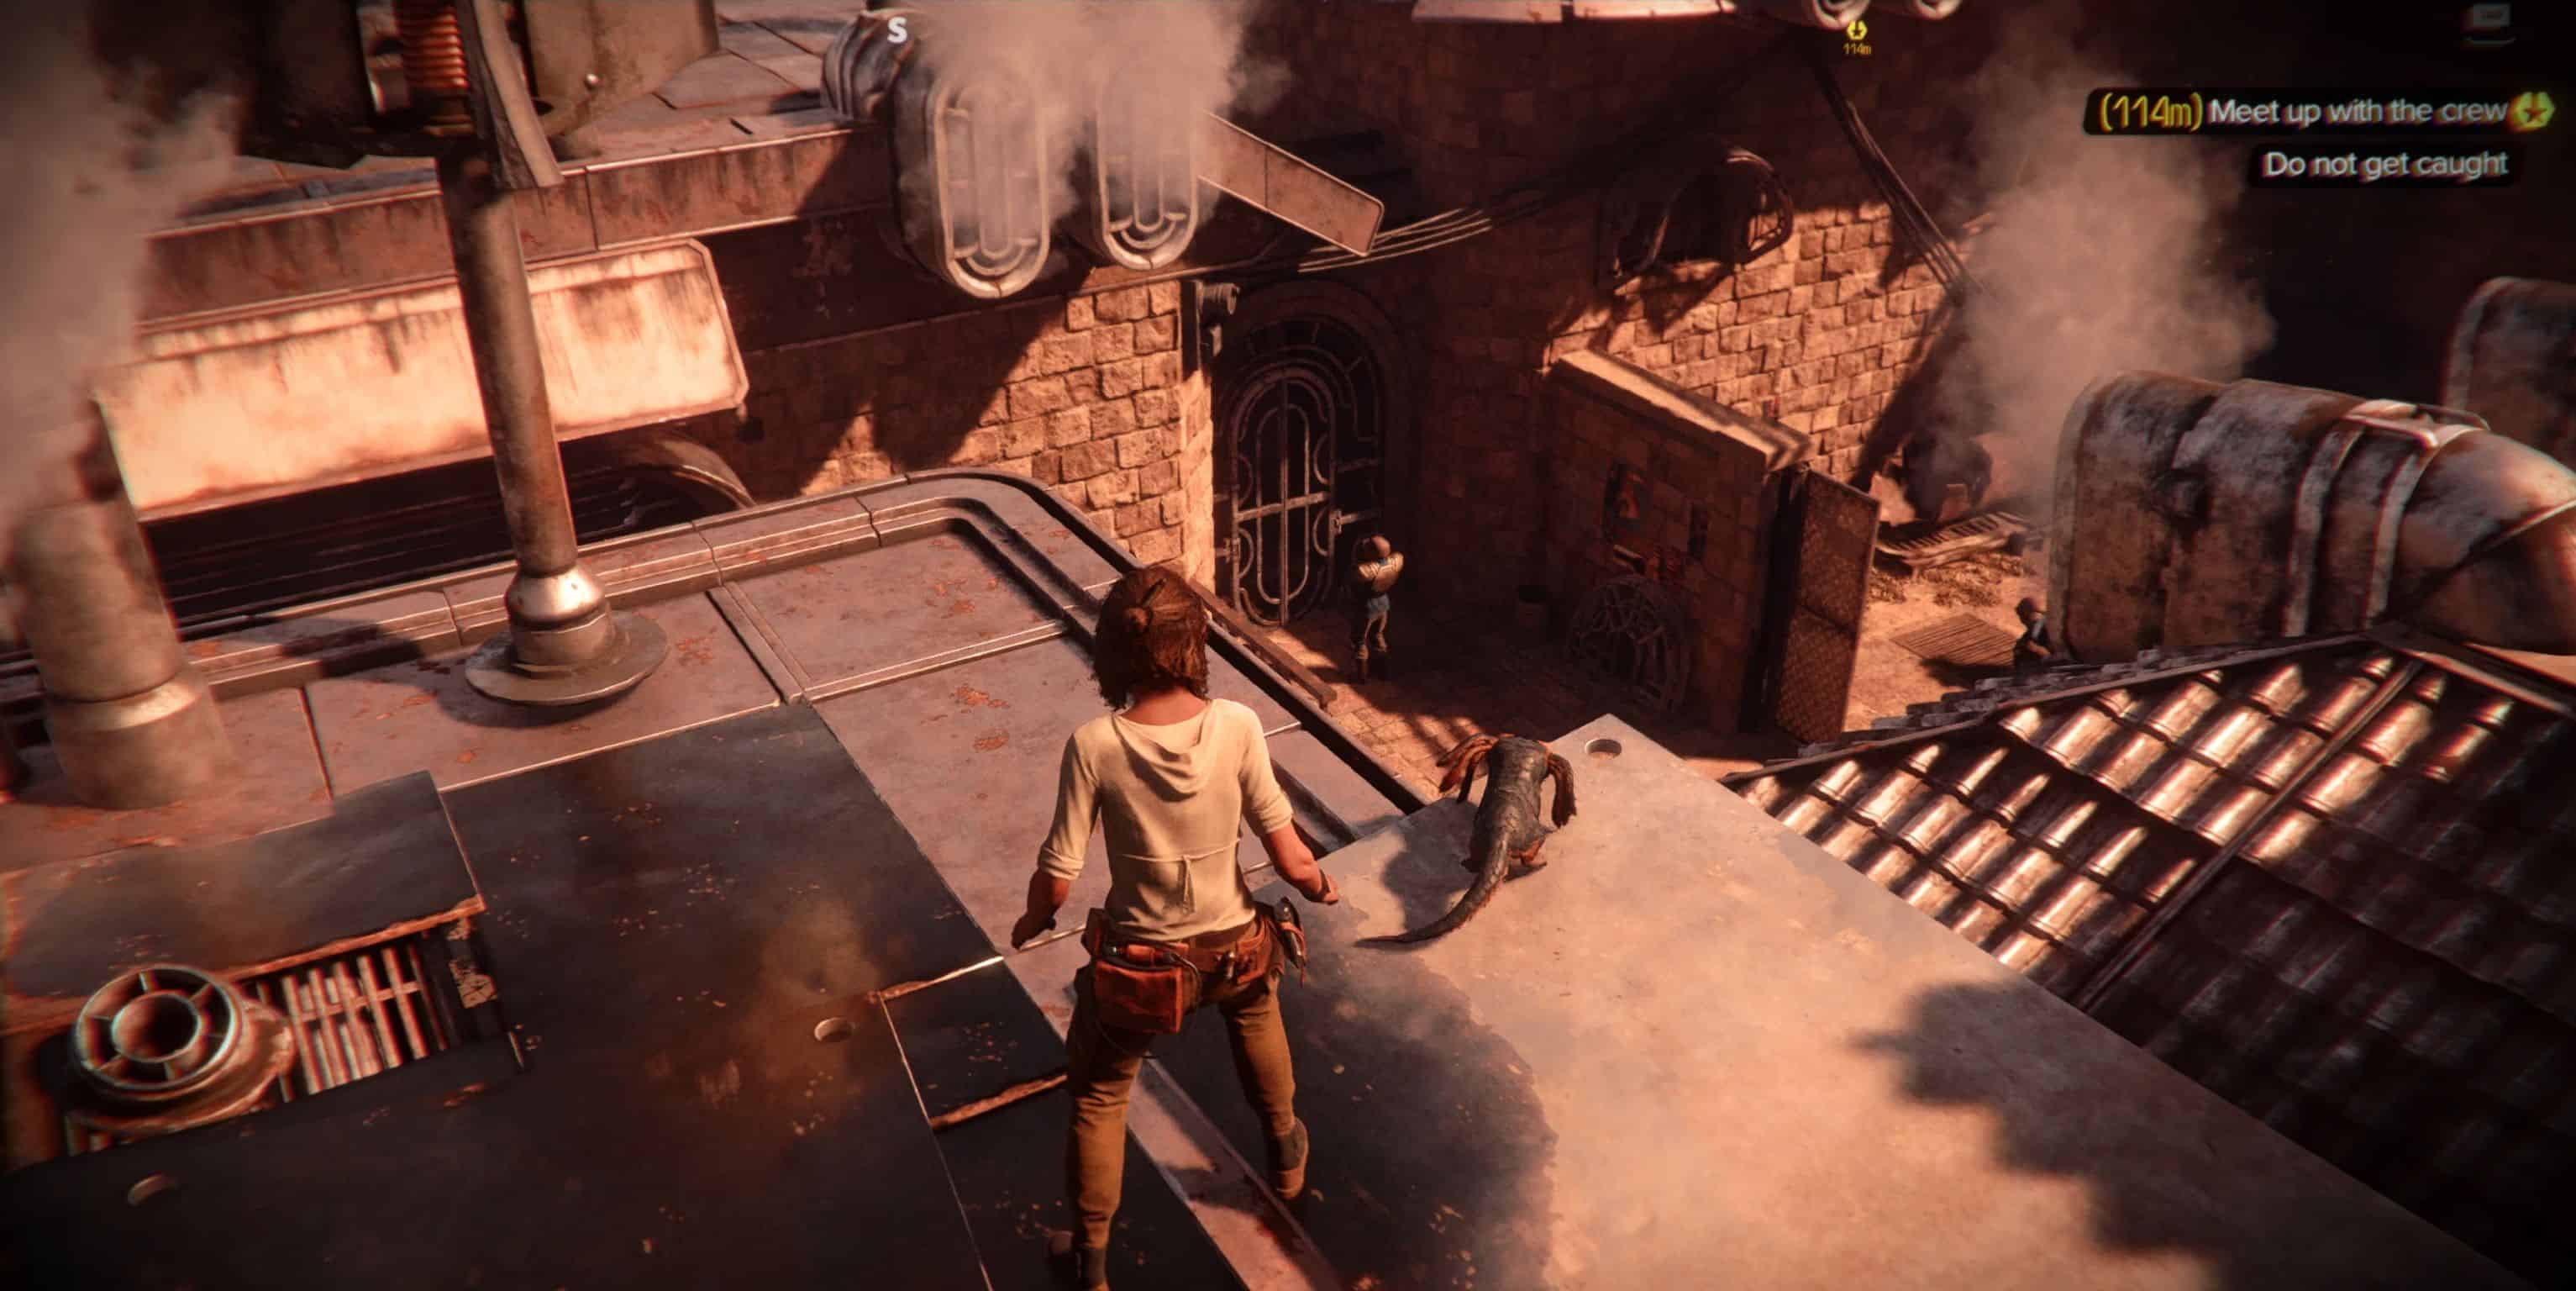
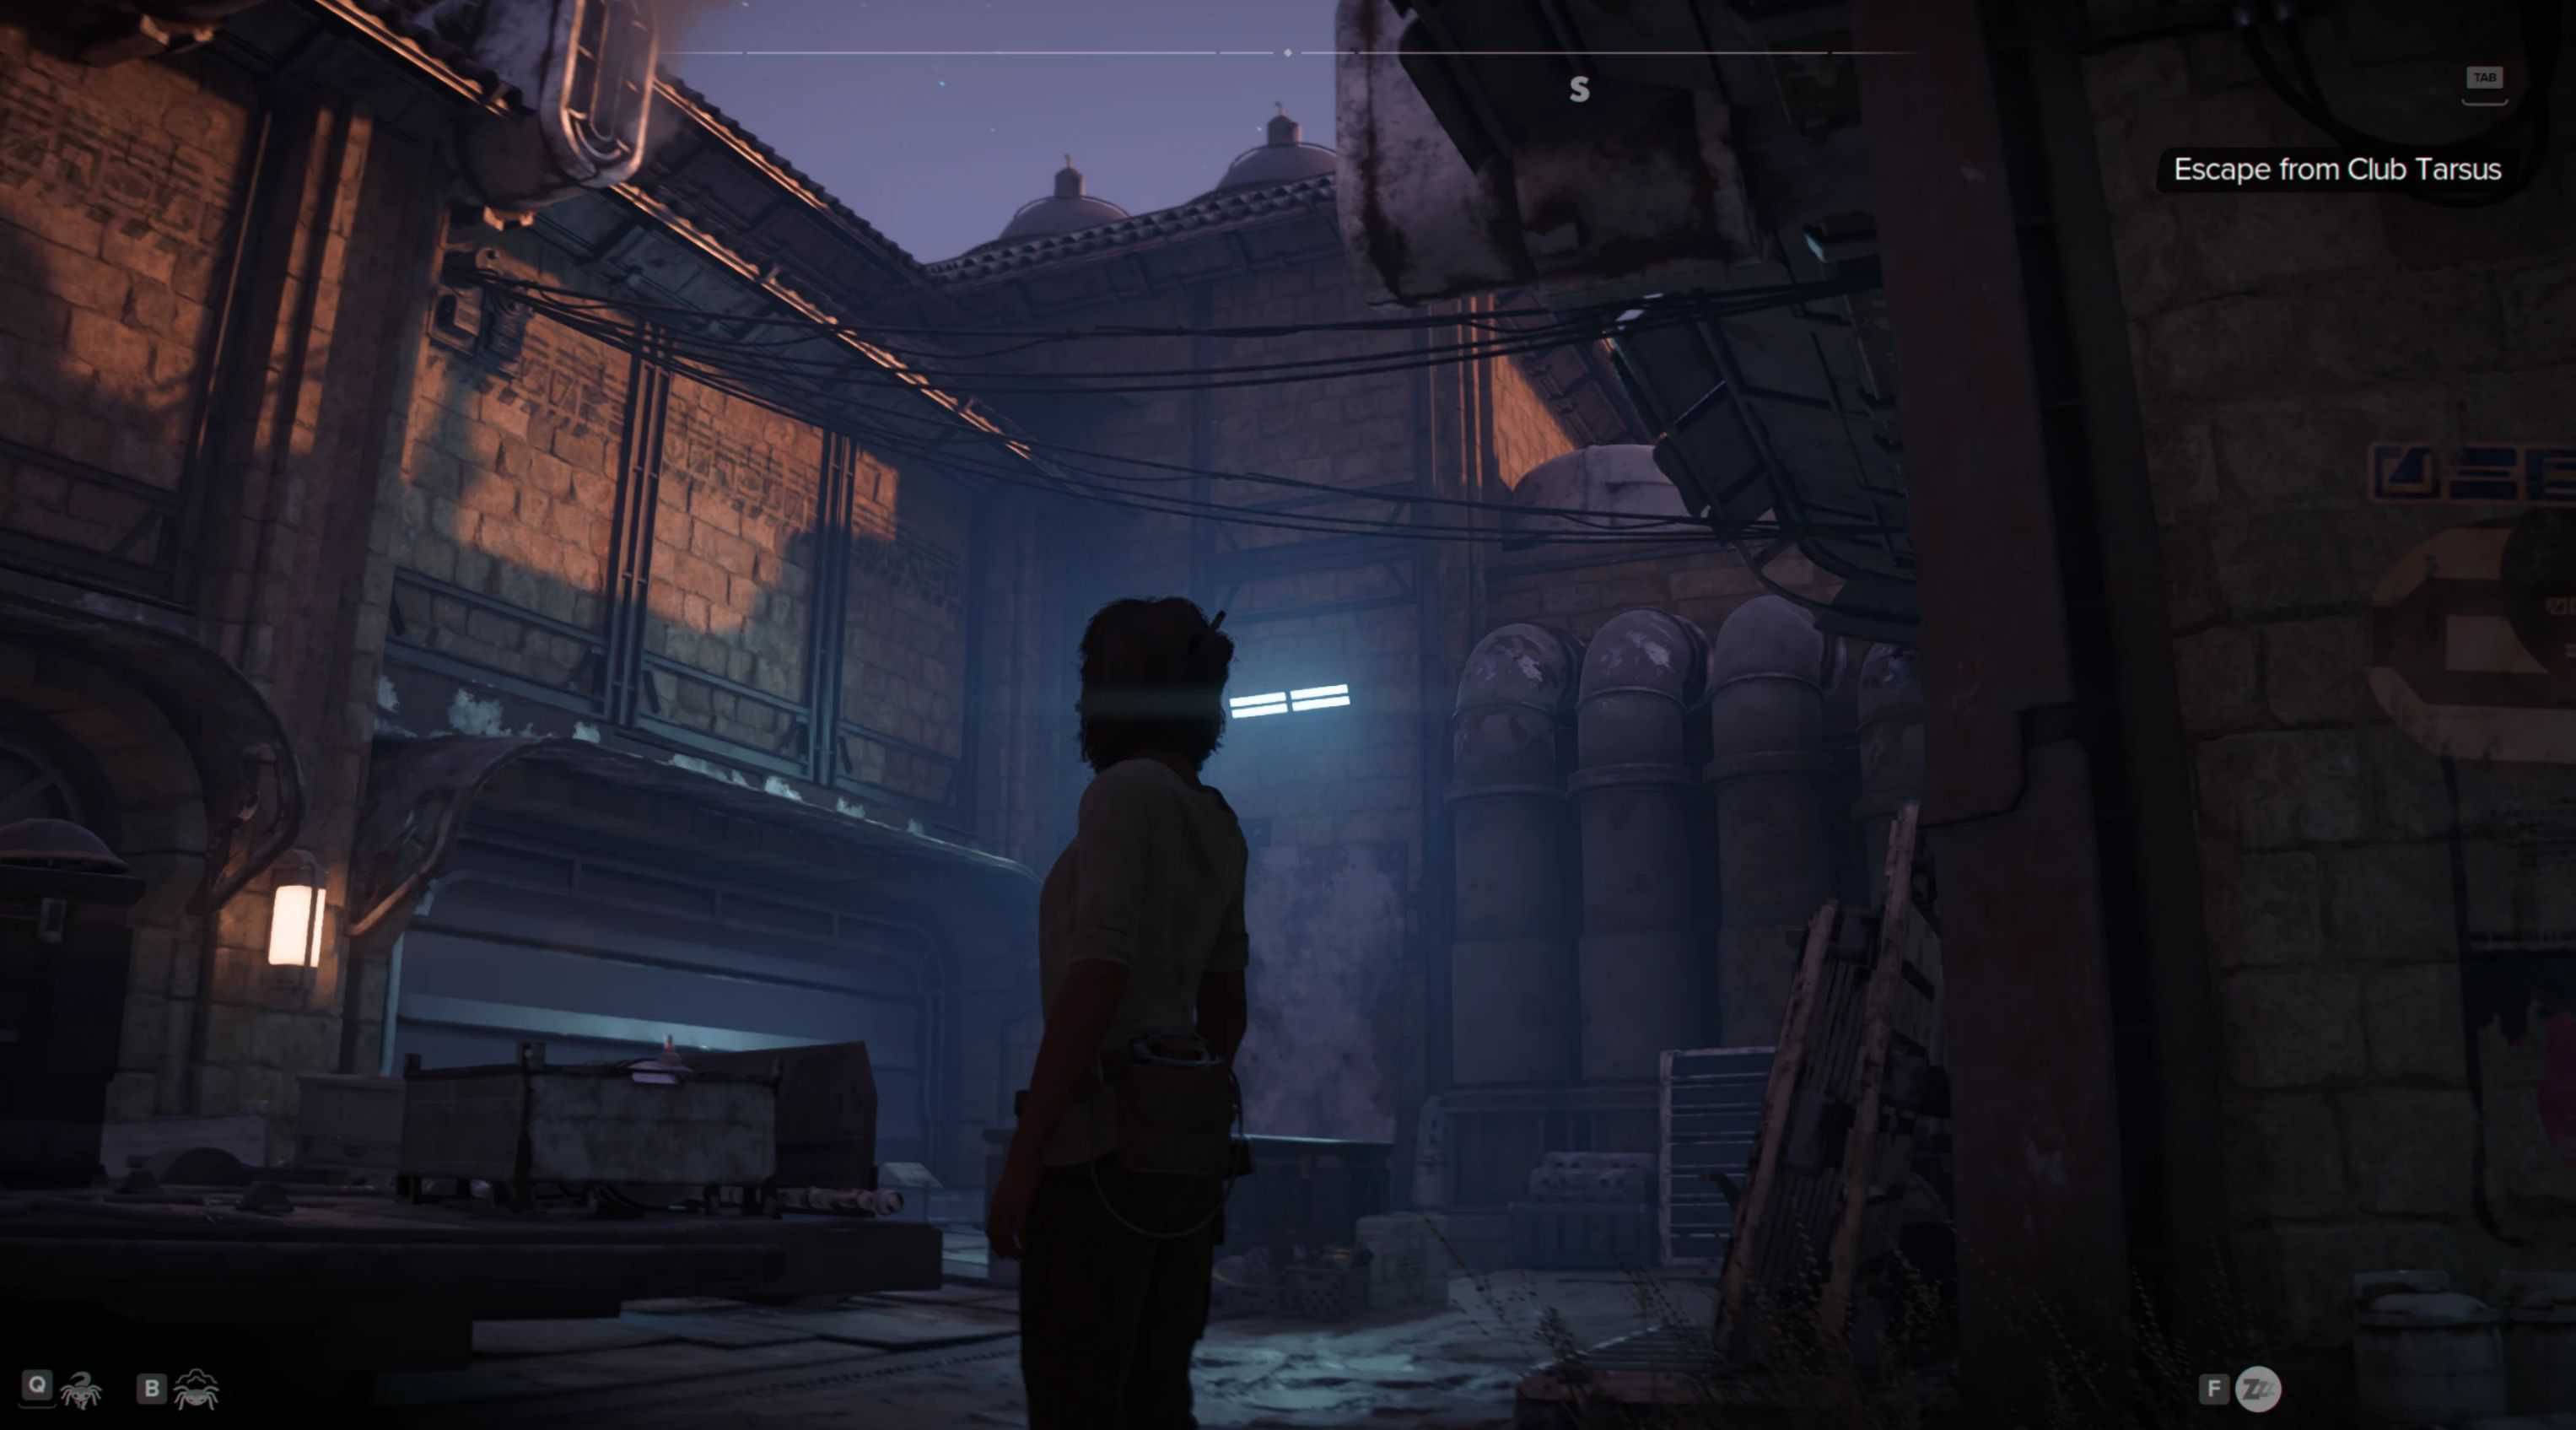
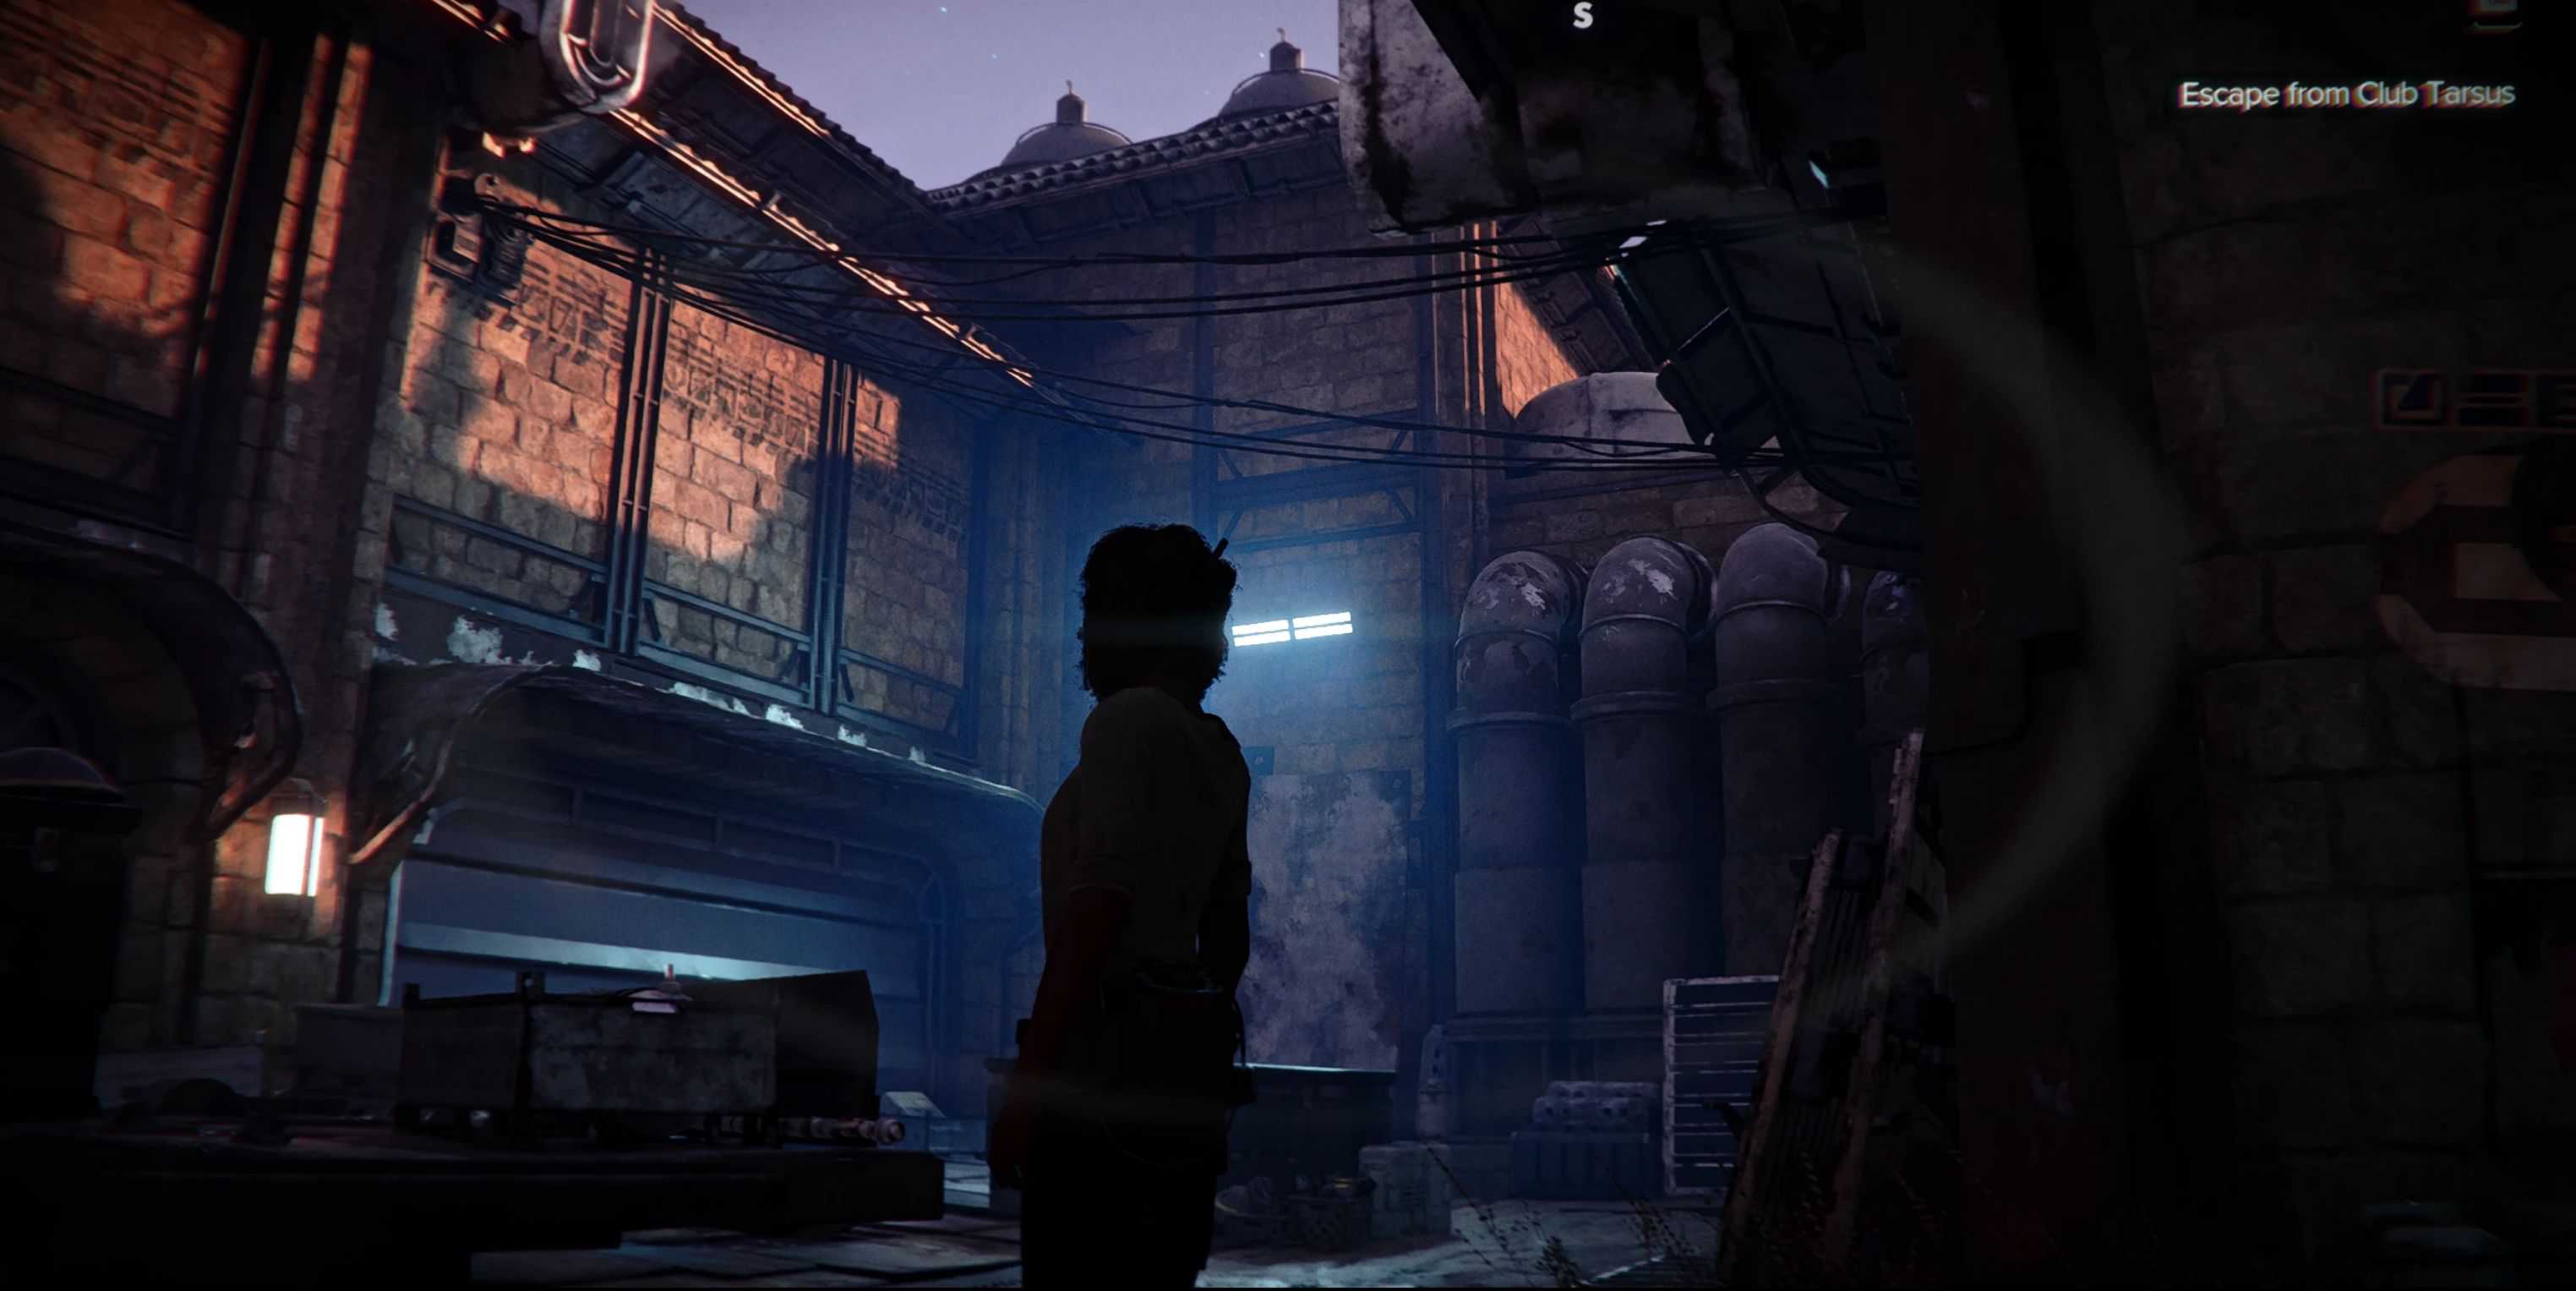
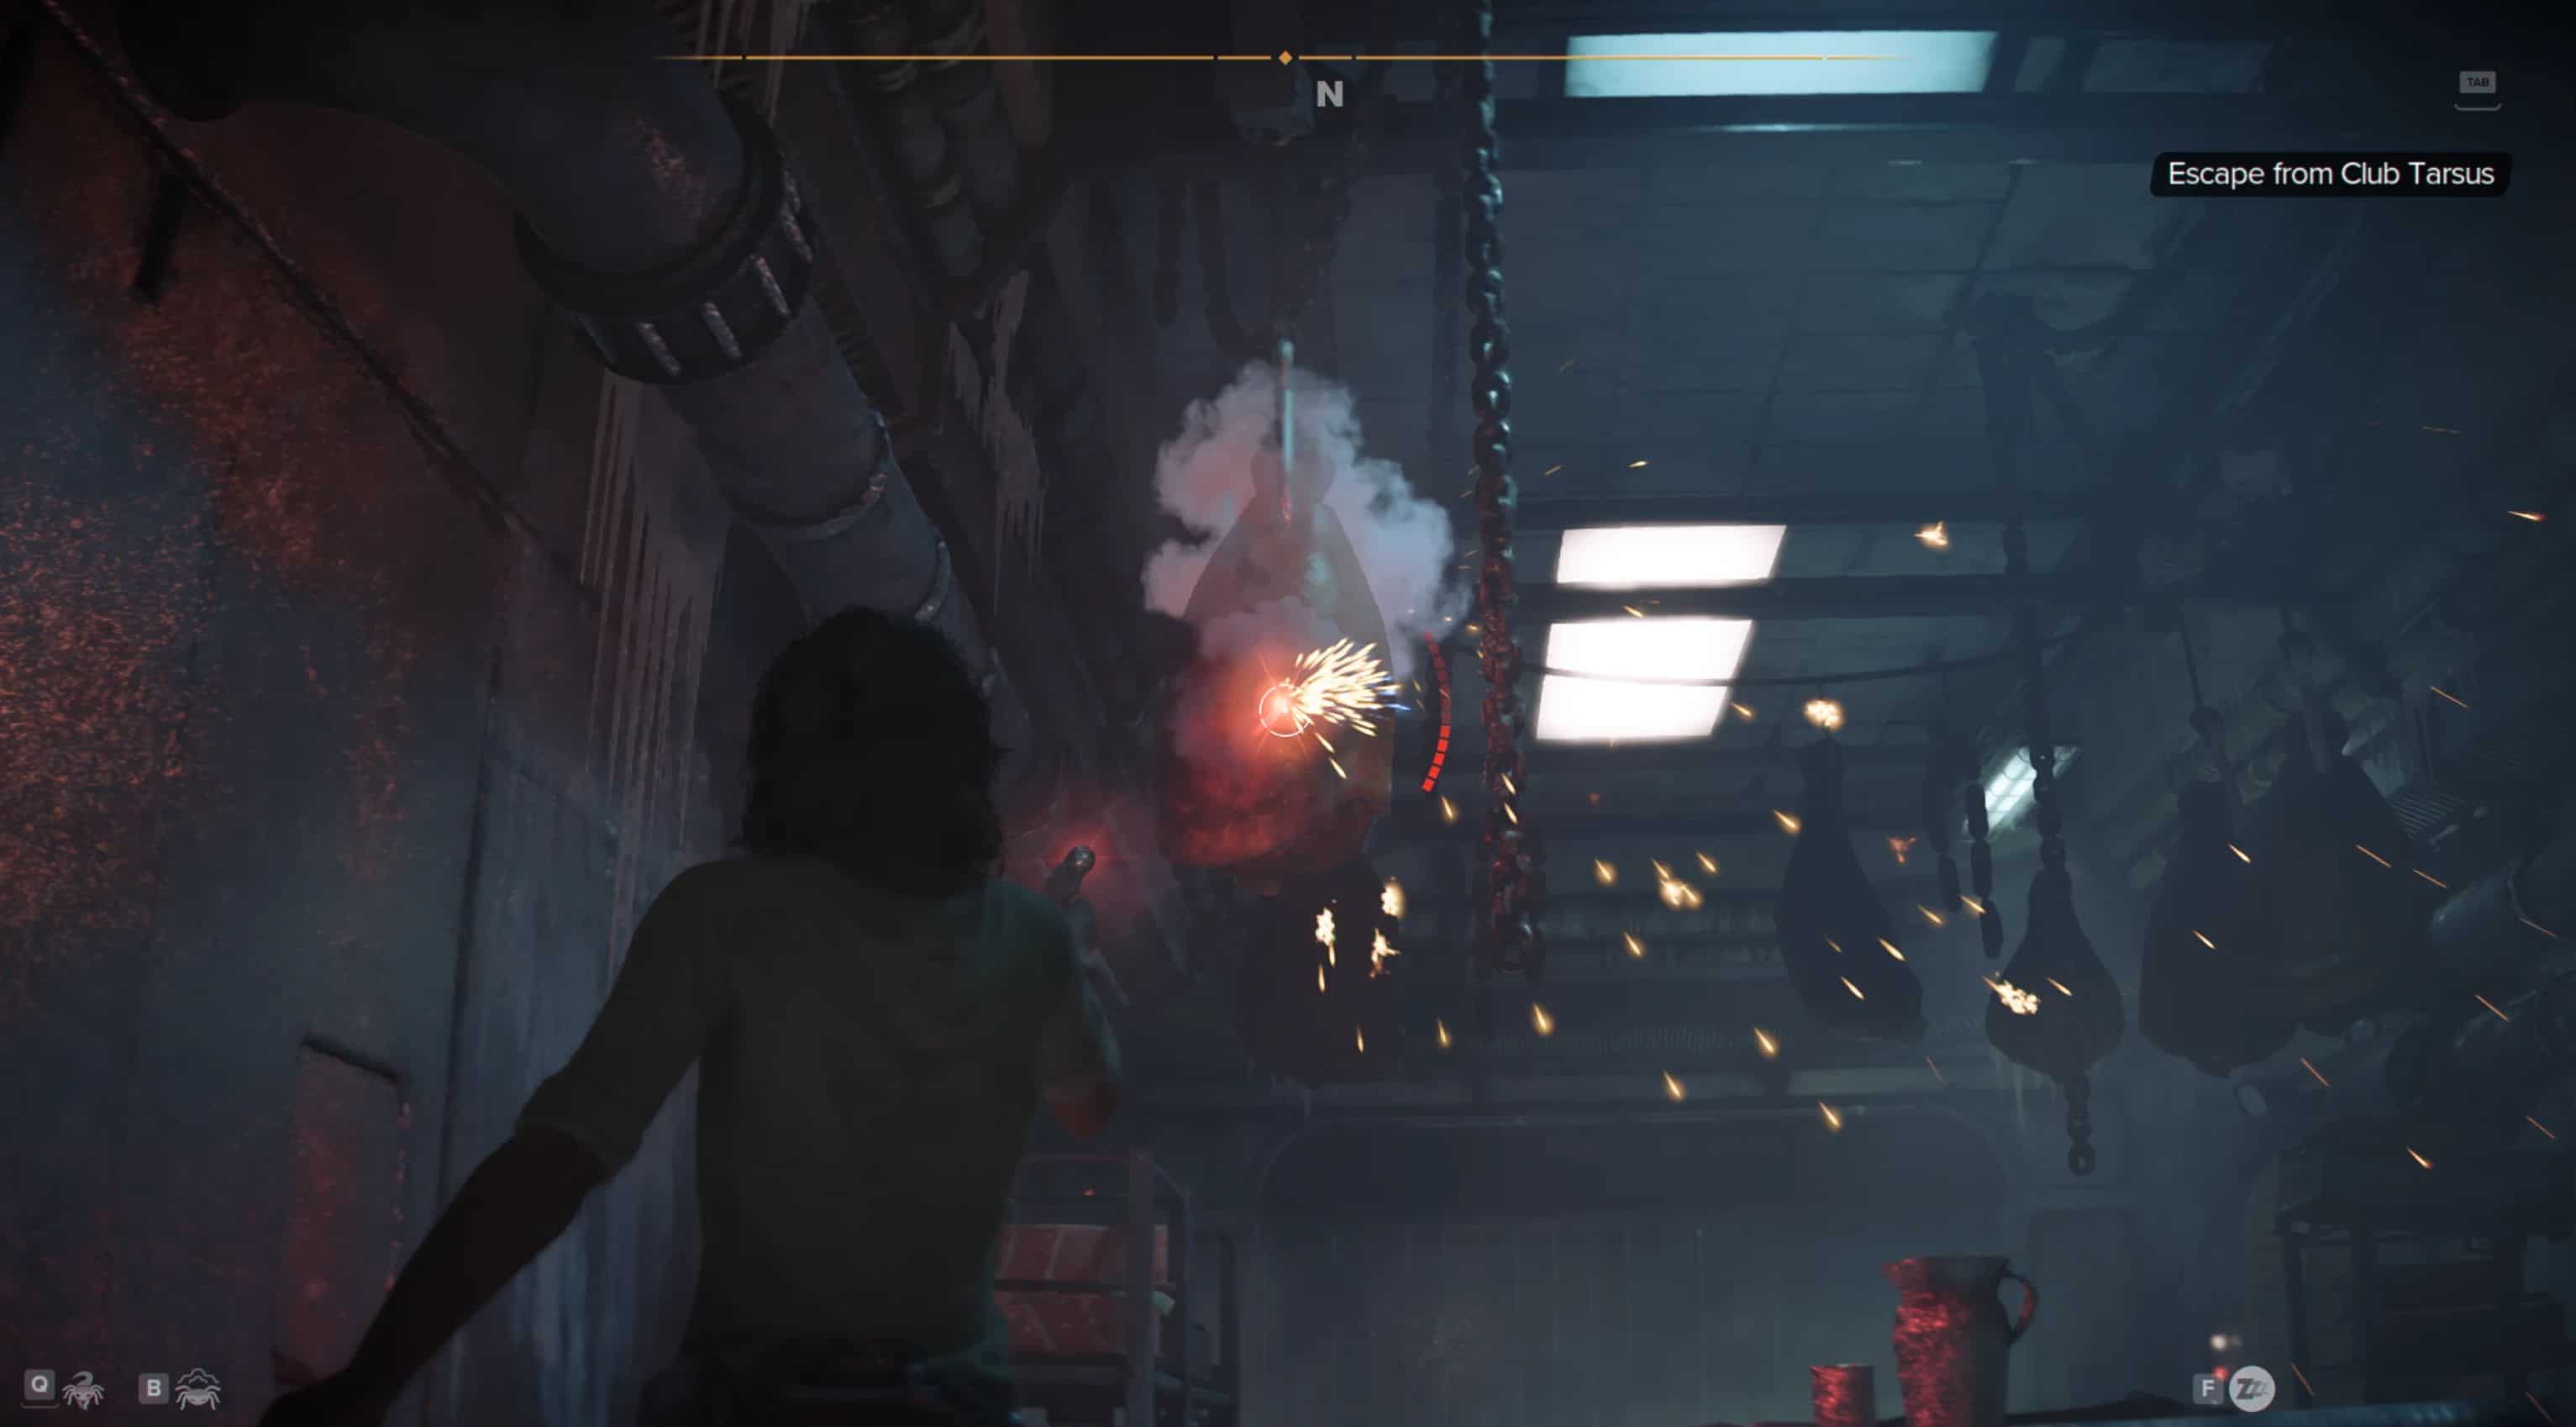
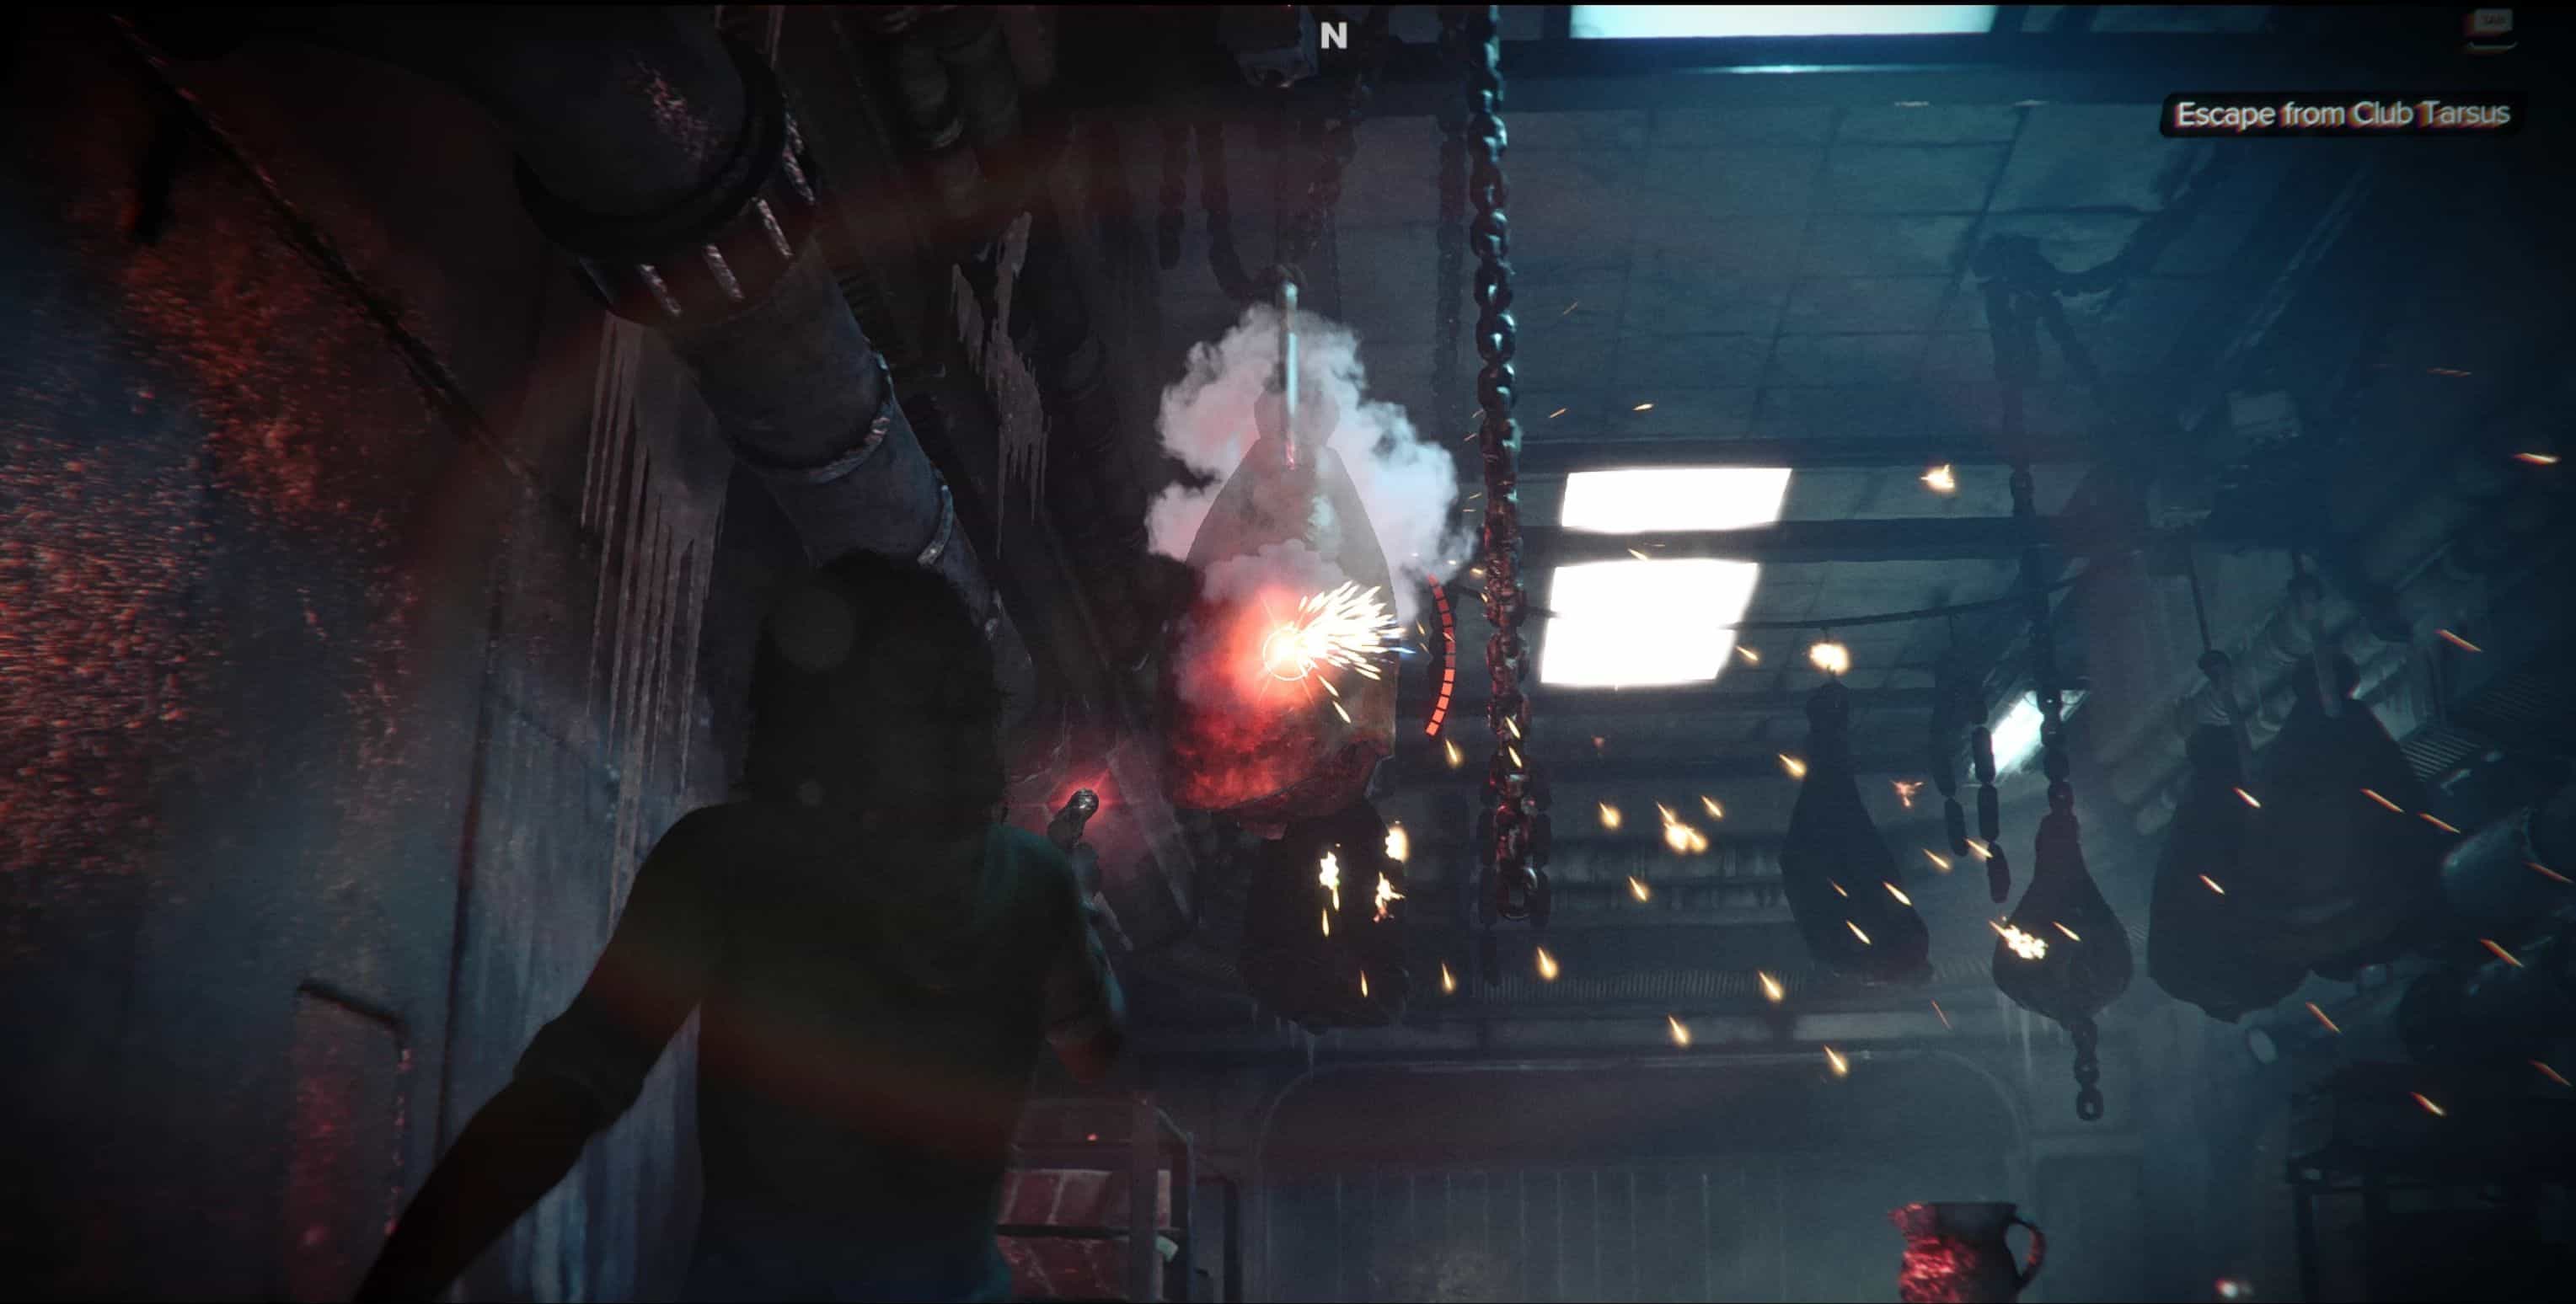
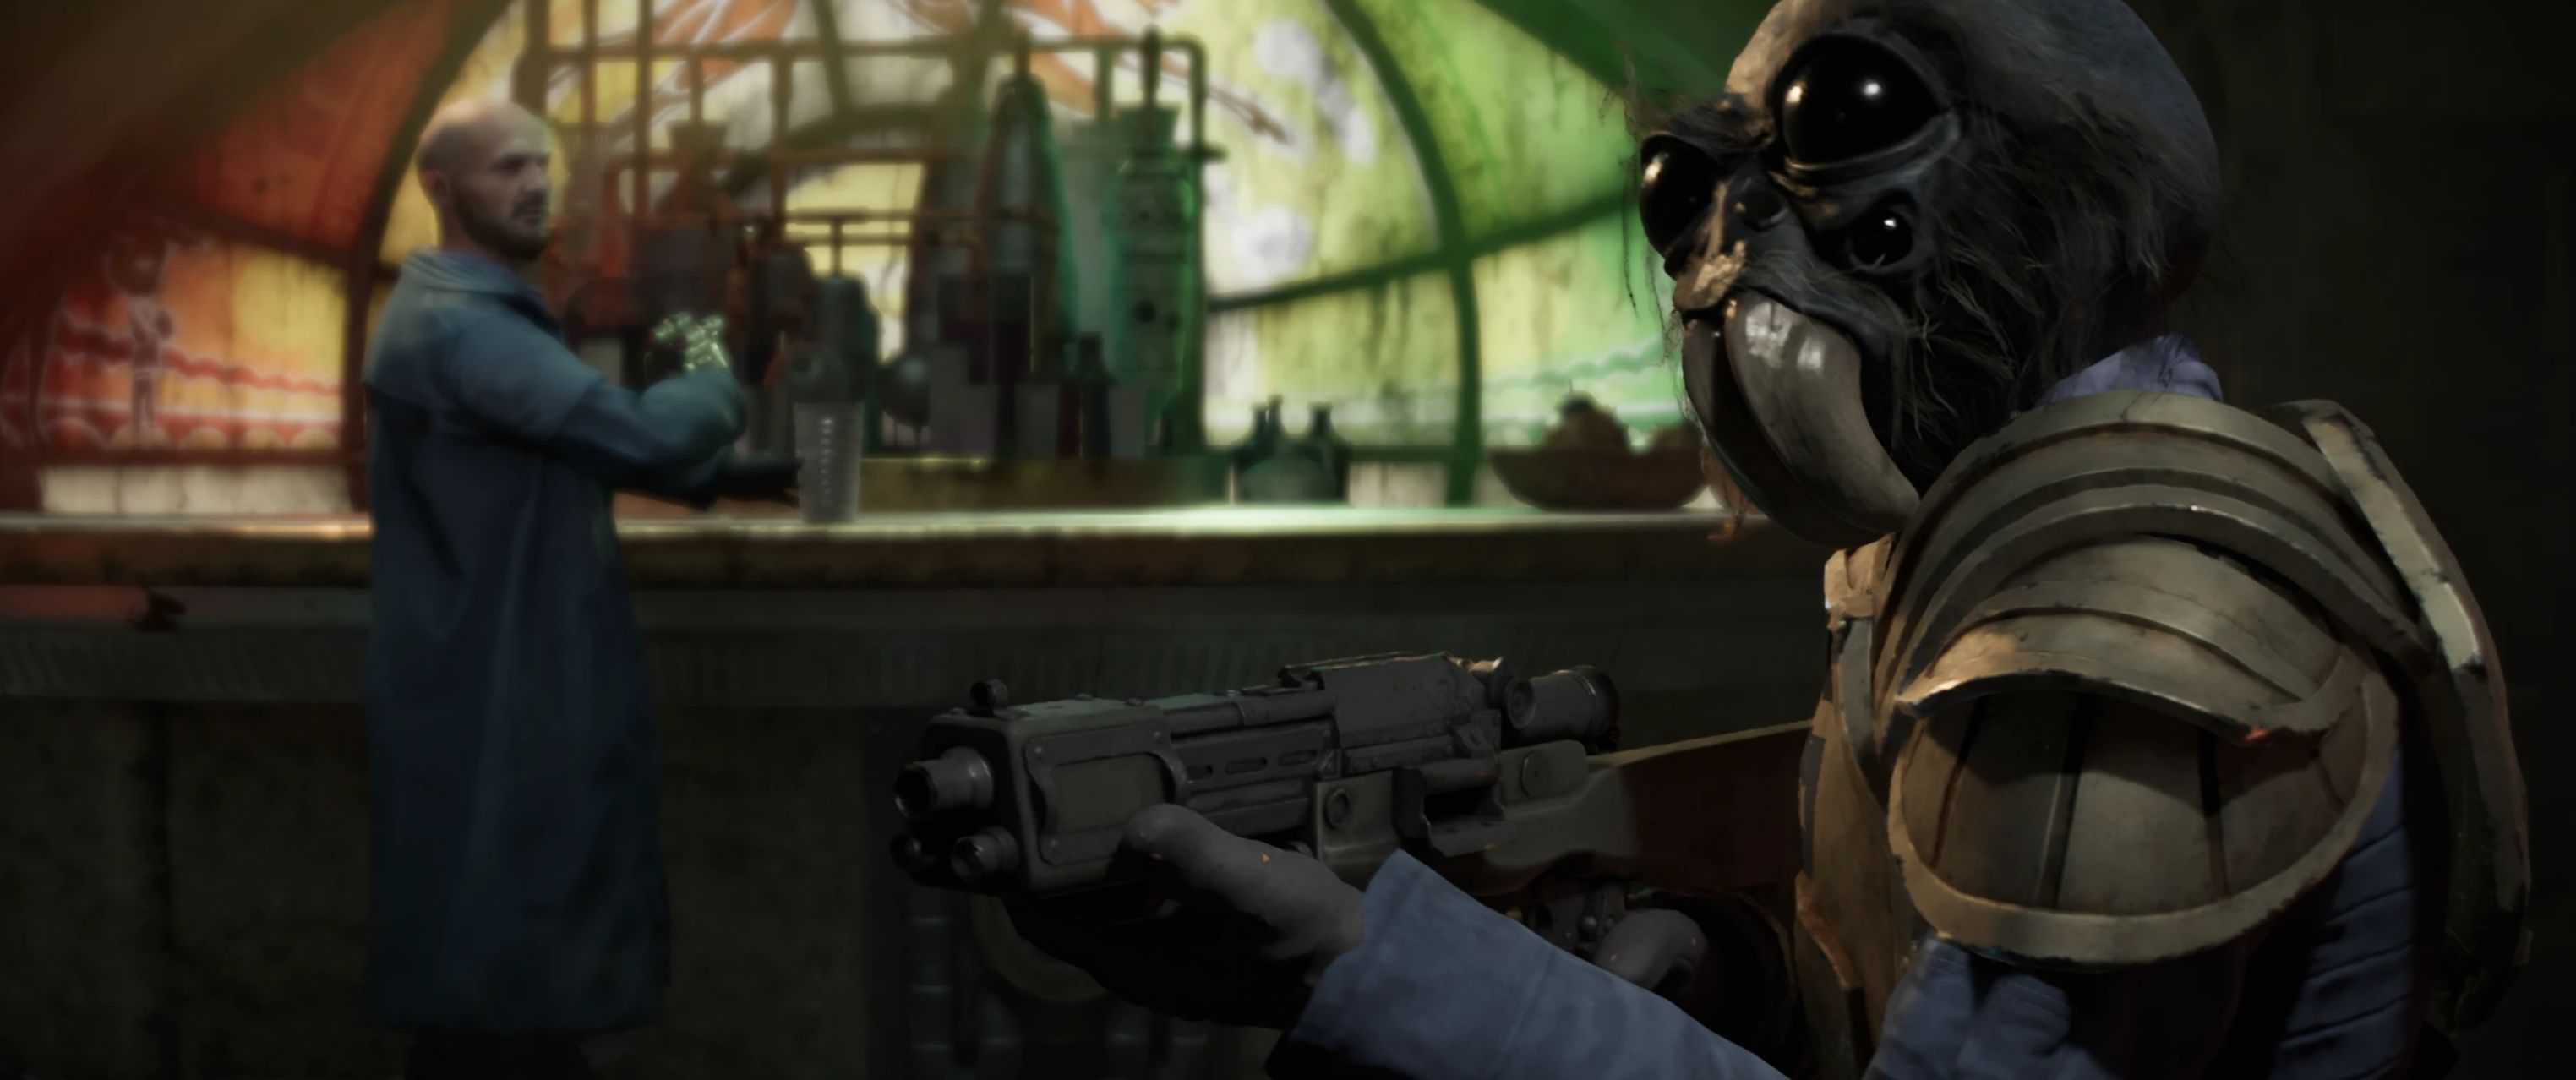
Cinematic ReShade that adds various lens flares to most blaster fire and light sources. Less washed out color grading, and generally more moody & punchy vibes to your game while offering optional cinematic effects beyond vanilla. Plans to add more presets in the coming days, weeks. All added effects are on hotkeys for easy and quick toggling.
Description and Features
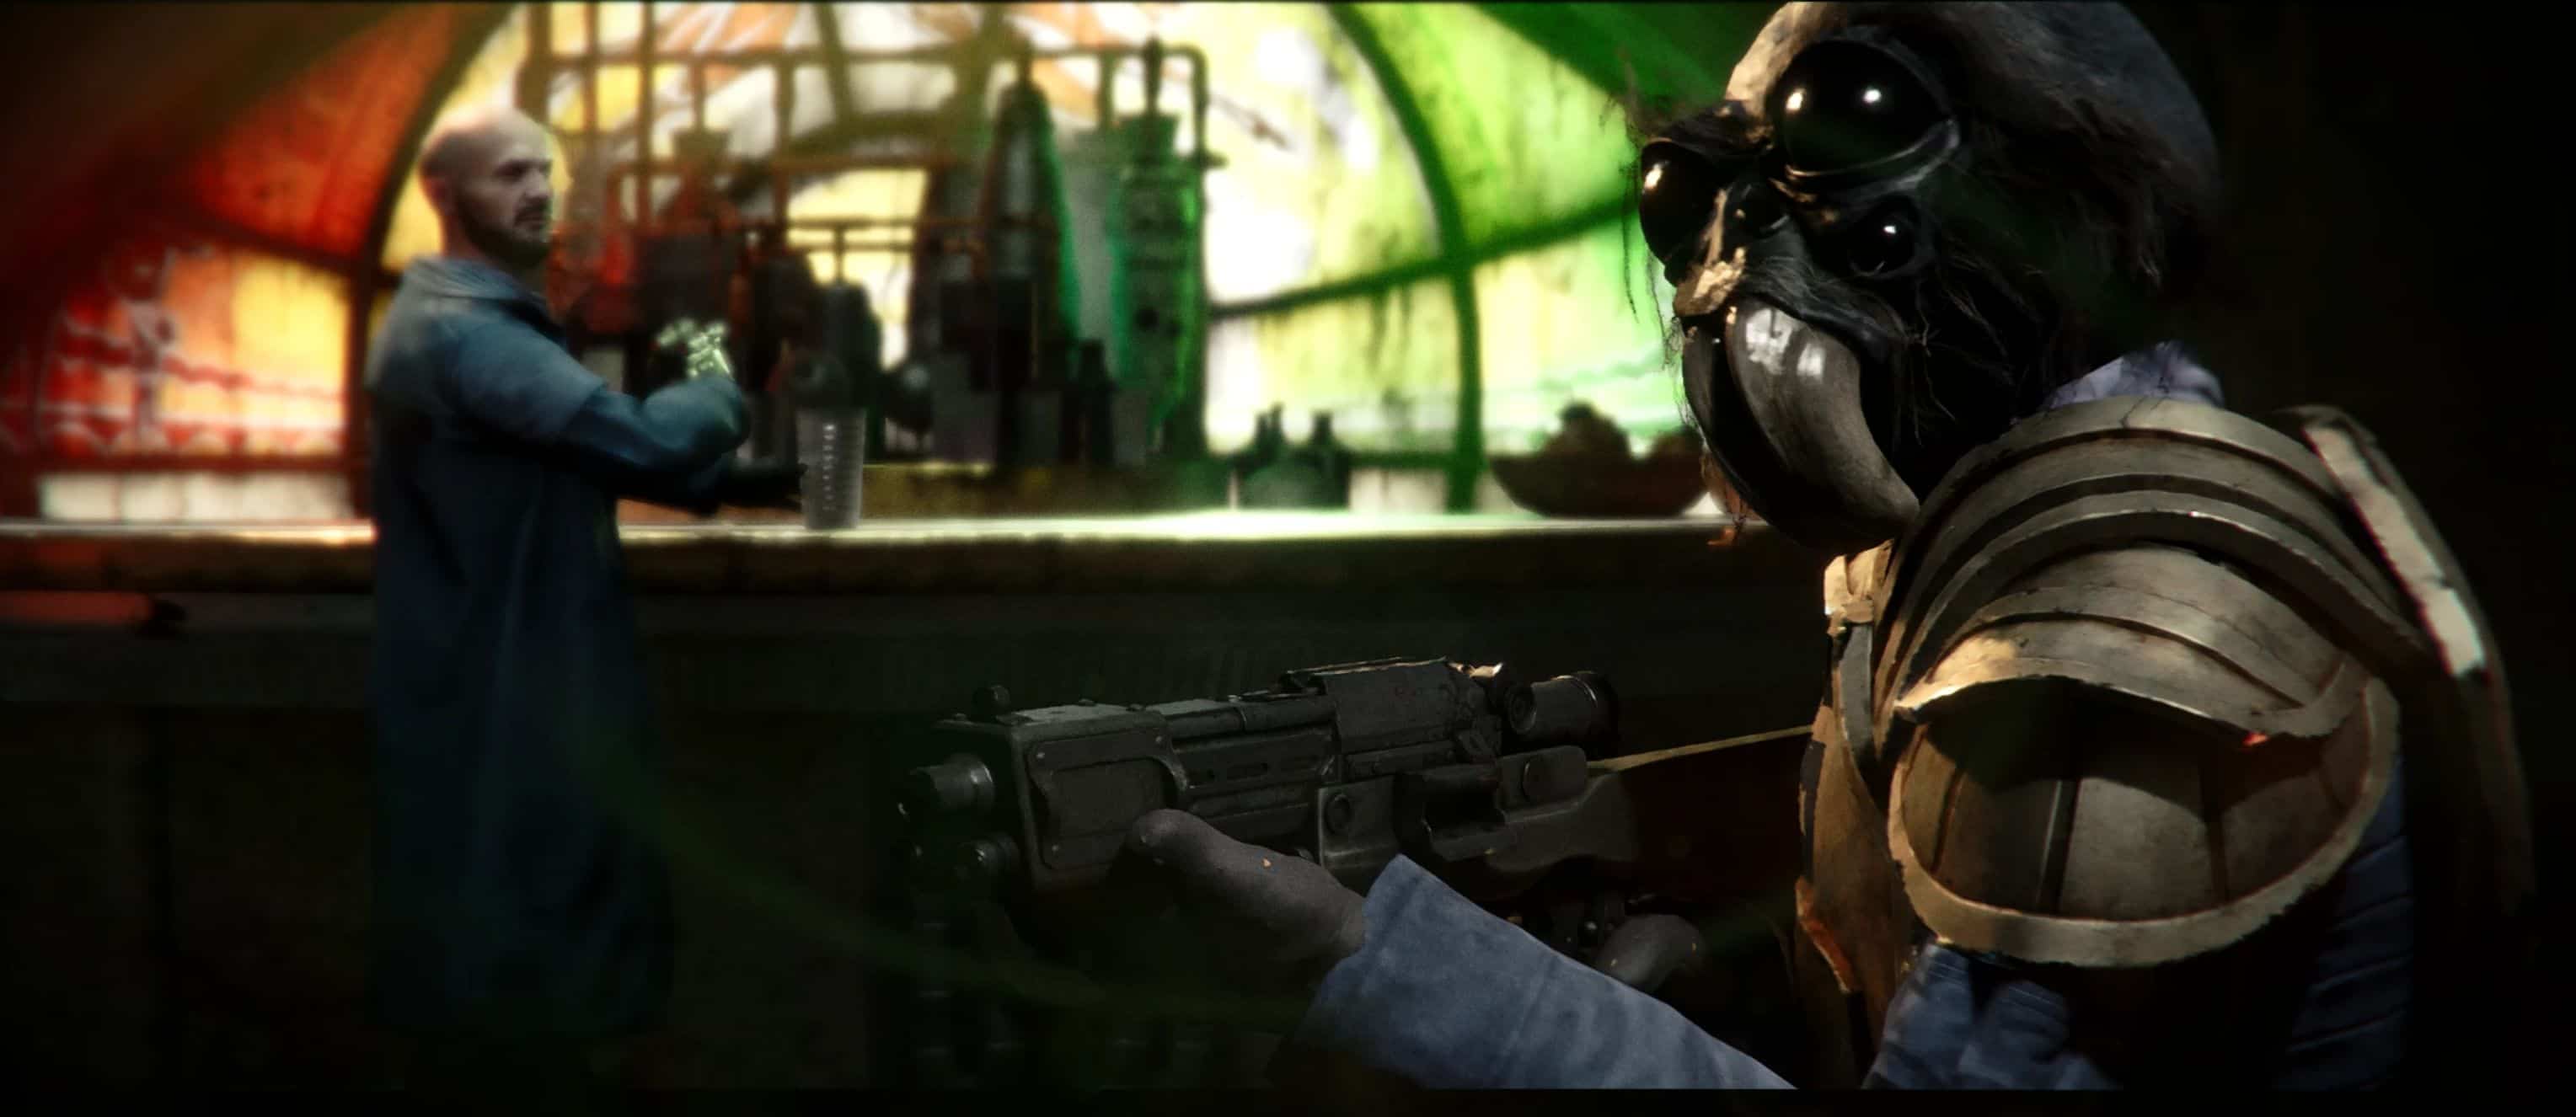
This is a cinematic ReShade that adds lens flares, less washed out color grading, and generally more moody vibes to your Star Wars Outlaws experience. It also offers optional cinematic effects beyond vanilla, including depth of field, camera lens emulation, lens flares, lens dirt, bloom, alternative film grain (advised to disable vanilla film grain unless you really like film grain then no reason you can’t use both vanilla and mine), letterbox, and vignette. I plans to add more presets in the coming days, weeks, and months.
All added effects are on hotkeys for easy and quick toggling when/if undesired.
Install Instructions
1. Put my .ini file in your game’s folder where your game’s .exe is.
2. Go to ReShade.me and download the latest version of ReShade (6.2.0 currently), being sure to select the version that says “with full add-on support.”
3. Run the ReShade .exe file you downloaded
4. Select your game’s .exe using the list of games provided in the installer. If you don’t see it there, you’ll have to
click “browse” and locate manually.
5. Select the DirectX 10,11,12 option
6. Hit next and when it asks if you want to use an existing preset file click “browse” and select this config file, “Mercs This Is the ReShade You’re Looking For – 1-0.ini” that file you put in your game folder in Step 1.
7. Go through the rest of the install process as the installer directs (don’t select any add-ons during installation when that menu comes up, unless another mod has directed you to do so). If you installed everything correctly, then you should see a message on the installer like “reshade was installed
successfully”
8. Launch your game. Use the “home” key to open the ReShade menu or whatever key it lists at the top left of your
screen.
9. Go through the prompts shown on screen in the ReShade menu.
10. Towards the middle of the ReShade menu you’ll see something that says “Edit Preprocessor Definitions”
a. Click that and change “depth_buffer_is_reversed” from 0 to 1 (if it’s already set to “1” that’s great, just leave it alone).
b. Hit “enter” or click outside the text box so the setting saves. You should see ReShade recompile if its shaders if you did this correctly. Should only take a second or two.
11. In the ReShade menu click “add on” at the top.
a. Ensure the first line next to Aspect Ratio is set to “Similar aspect ratio.”
b. Ensure the second line next to Filter by depth buffer format is set to “All.”
c. Ensure no checkboxes are ticked in the add-on menu except for the “Generic Depth” one at the top.
c. Go back to the home tab of the ReShade menu.
d. Close the ReShade menu.
12. Choose whichever preset you want, whenever you want!
13. Profit?
Please refer to the ReShade menu for the toggle keys for each effect. Cheers!